
X-ray painting with light
Inspired by the X-ray images in our collection we decided to have some fun making our own semi-transparent pictures.
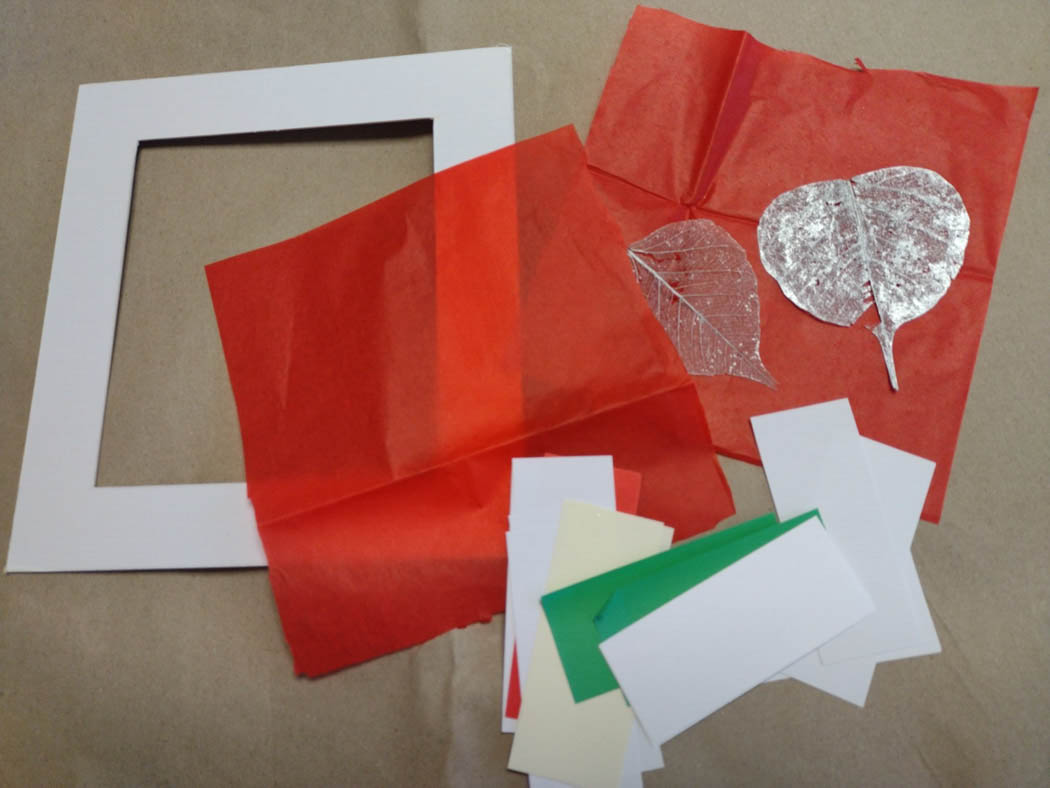
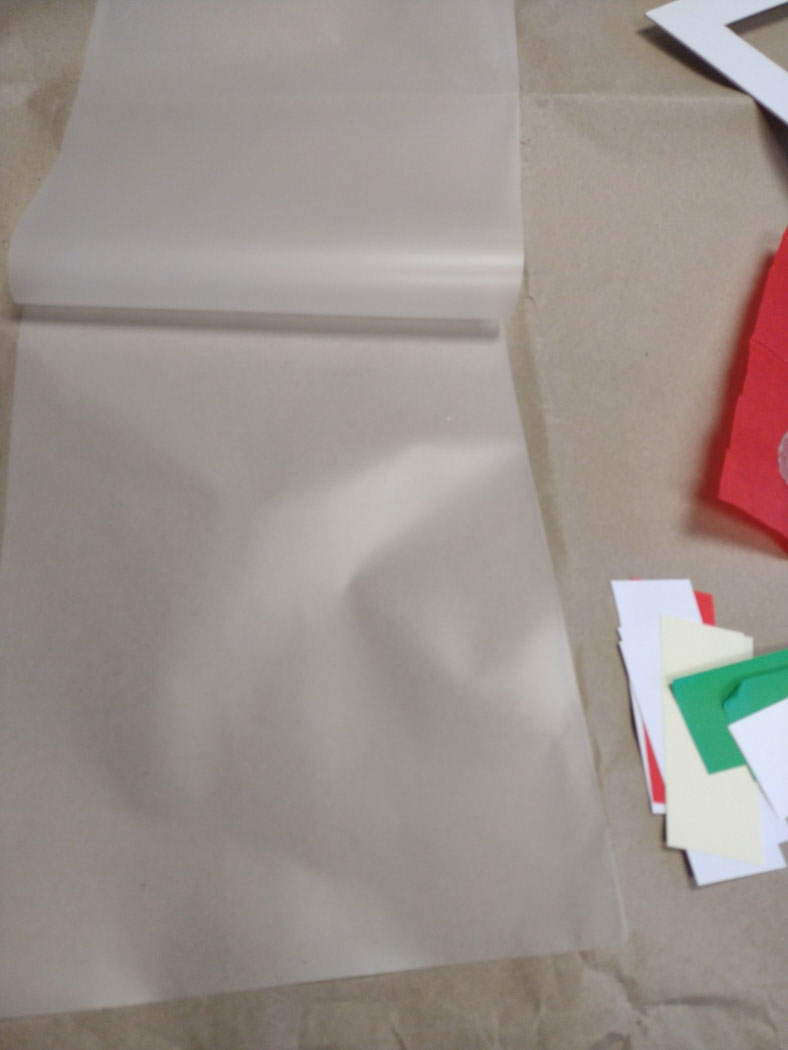
You will need
- tissue paper
- scrap paper, string, dried leaves/grasses* not essential
- laminating pouch & laminator
- sticky tape
- scissors
- hole punch
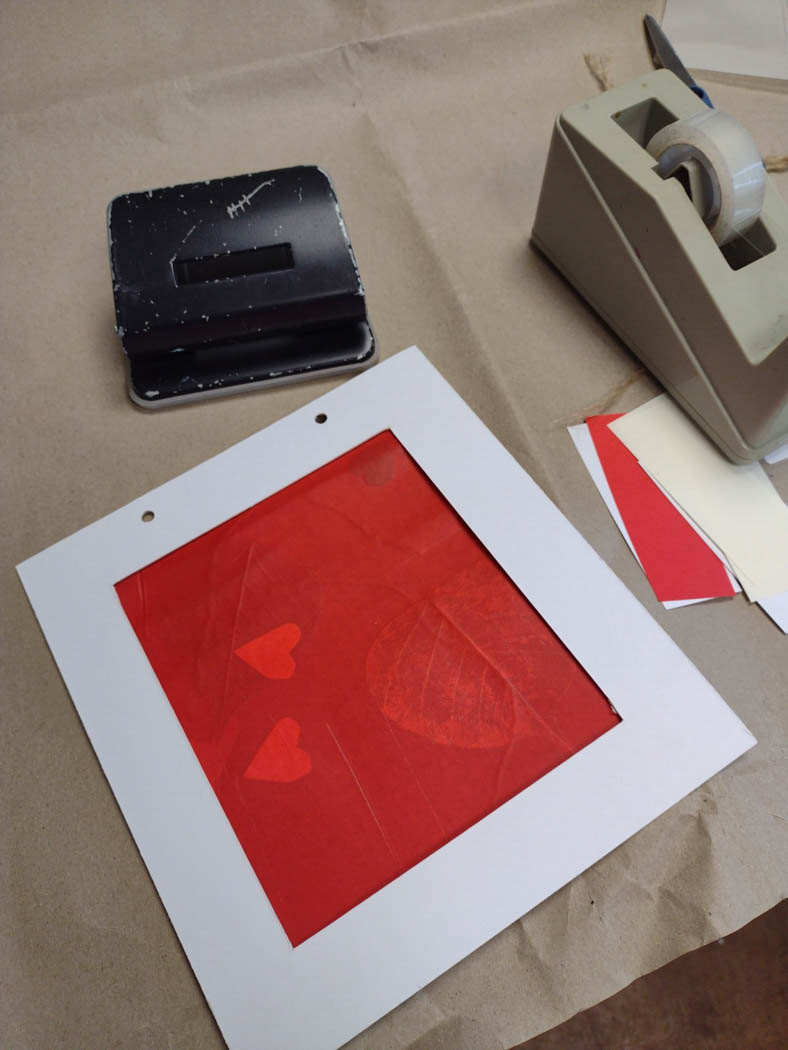
- pre-cut card mount
Instructions
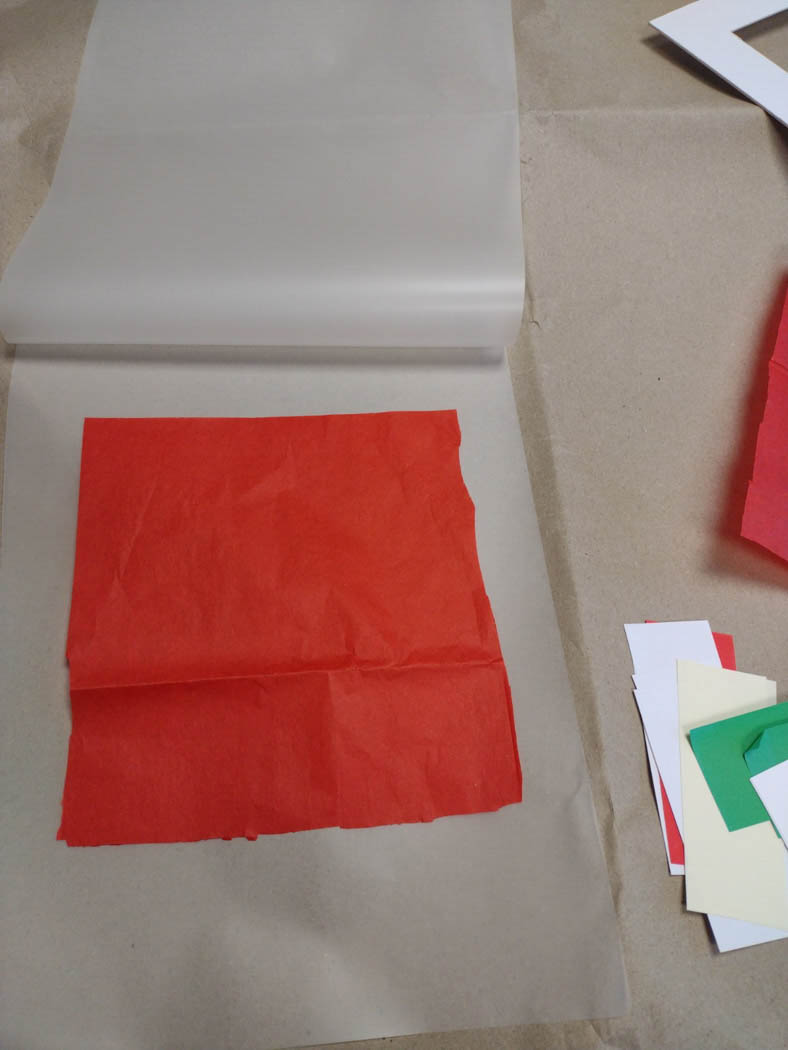
- Measure 2 pieces of tissue paper that are slightly bigger than the hole of your pre-cut card mount
- Open a laminating pouch
- Place inside your pouch one sheet of tissue paper
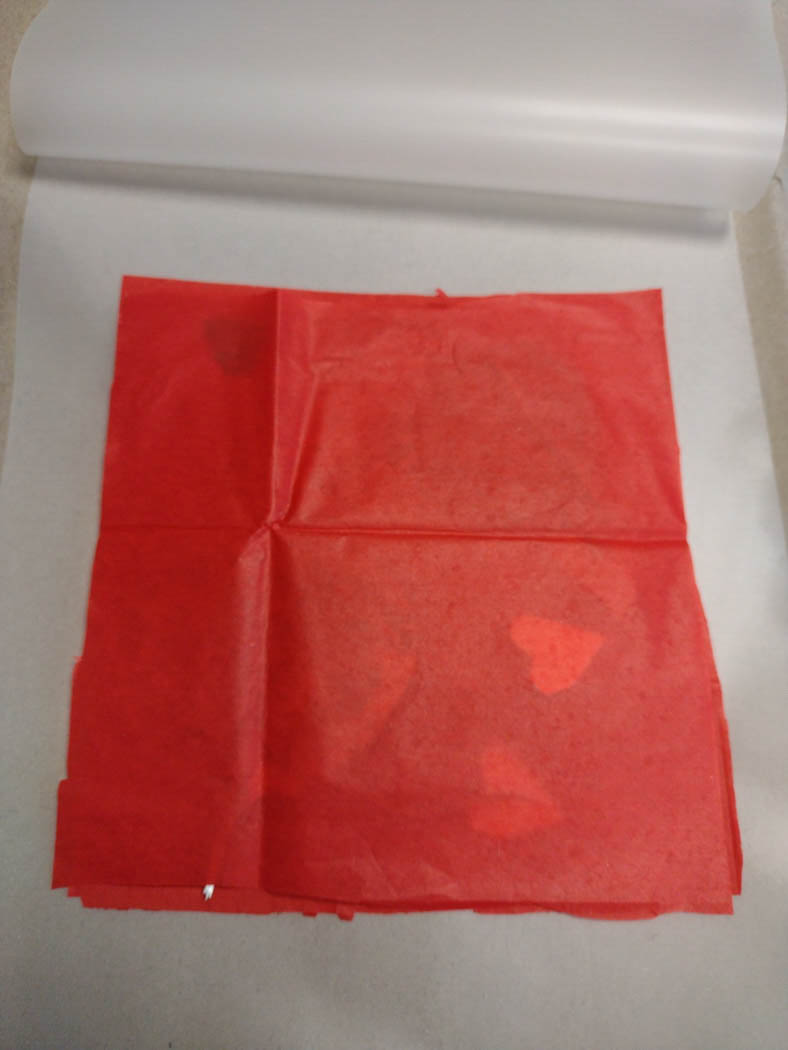
- Layout cut out shapes from your scrap materials, string or dried leaves & grasses
- Cover with the second piece of tissue paper
- Close the laminating pouch and run through the machine
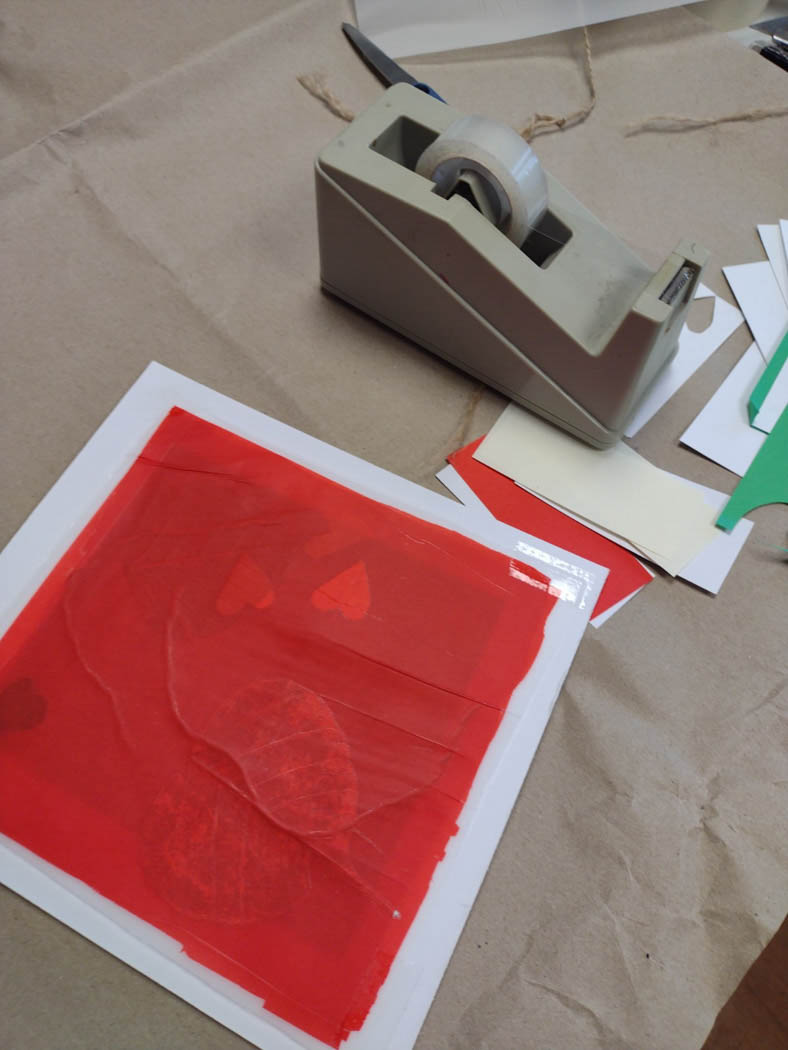
- Once sealed cut out
- Stick to the back of your cardboard mount
- Using a hole punch make 2 holes in the top centre of your mount and tie a loose loop of string through the two holes
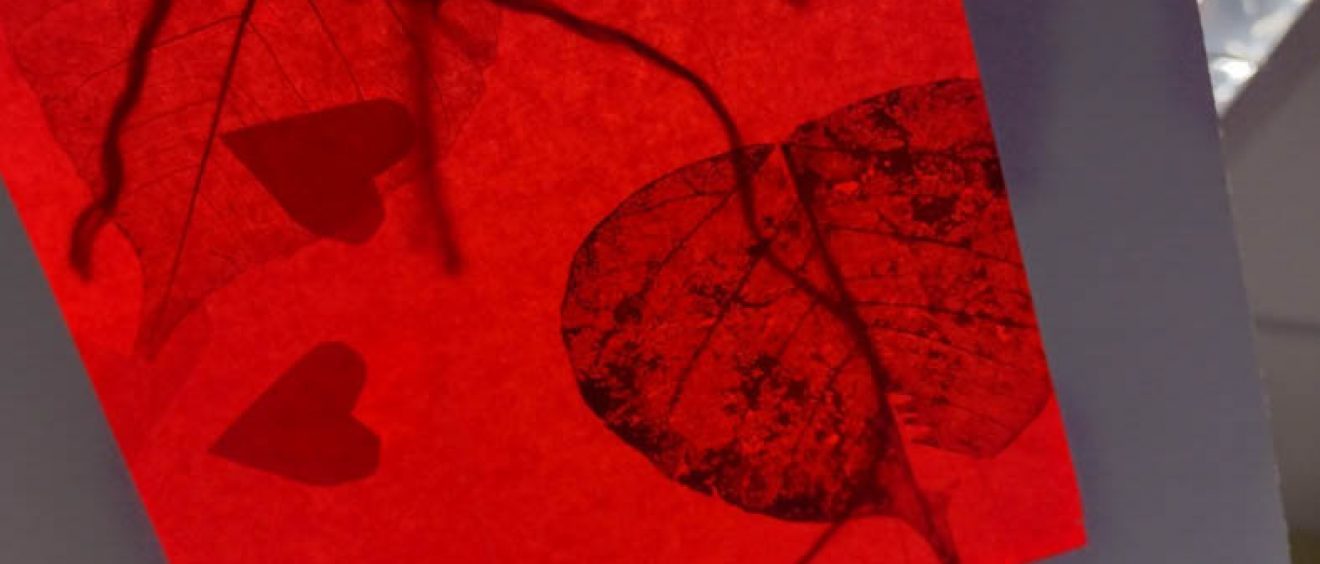
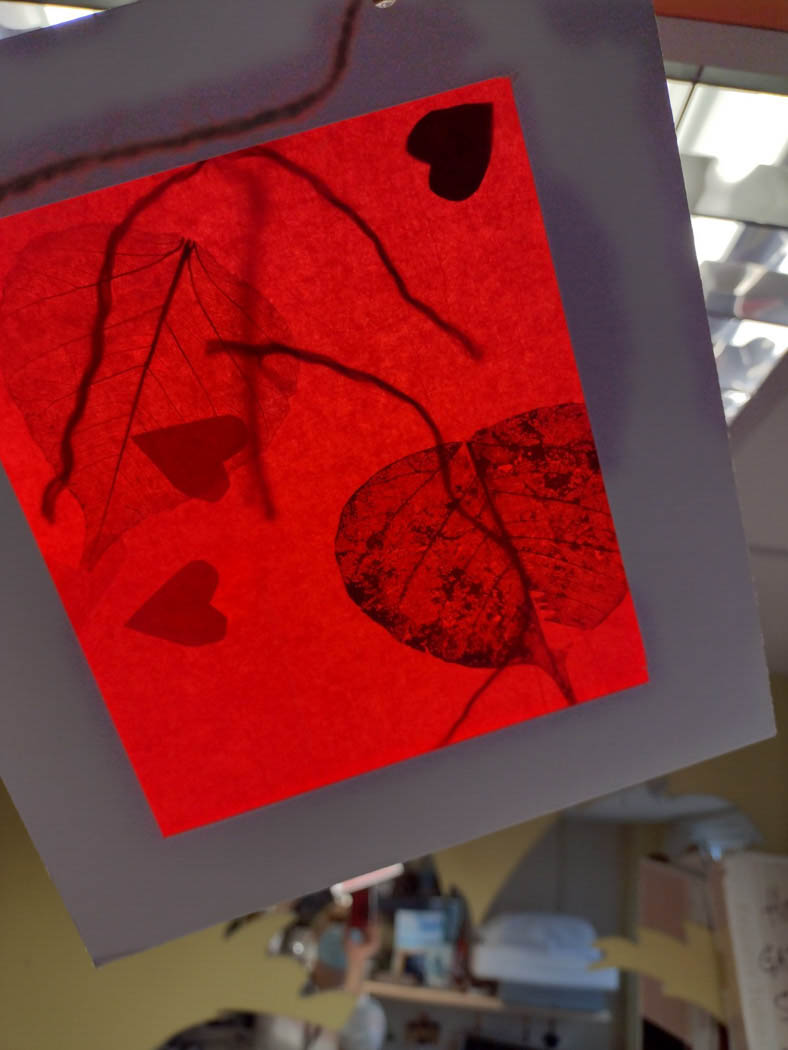
- Hang in a sunlit window to reveal your hidden x-ray inspired picture


Other tips and ideas
- Experiment with different weight papers (such as tracing paper, tissue or thin card) and collage leaves to see the difference this makes to what is revealed or hidden inside your tissue paper artwork. See how light passes through thinner paper and is blocked by thicker paper or card.
- If you don’t have access to a laminating machine use PVA glue to sandwich together your tissue paper and collage layers
- Use a pre-cut window greetings card from a craft shop to send a secret picture to someone
- Try our X-ray calligraphy activity or X-ray cyanotype print activity